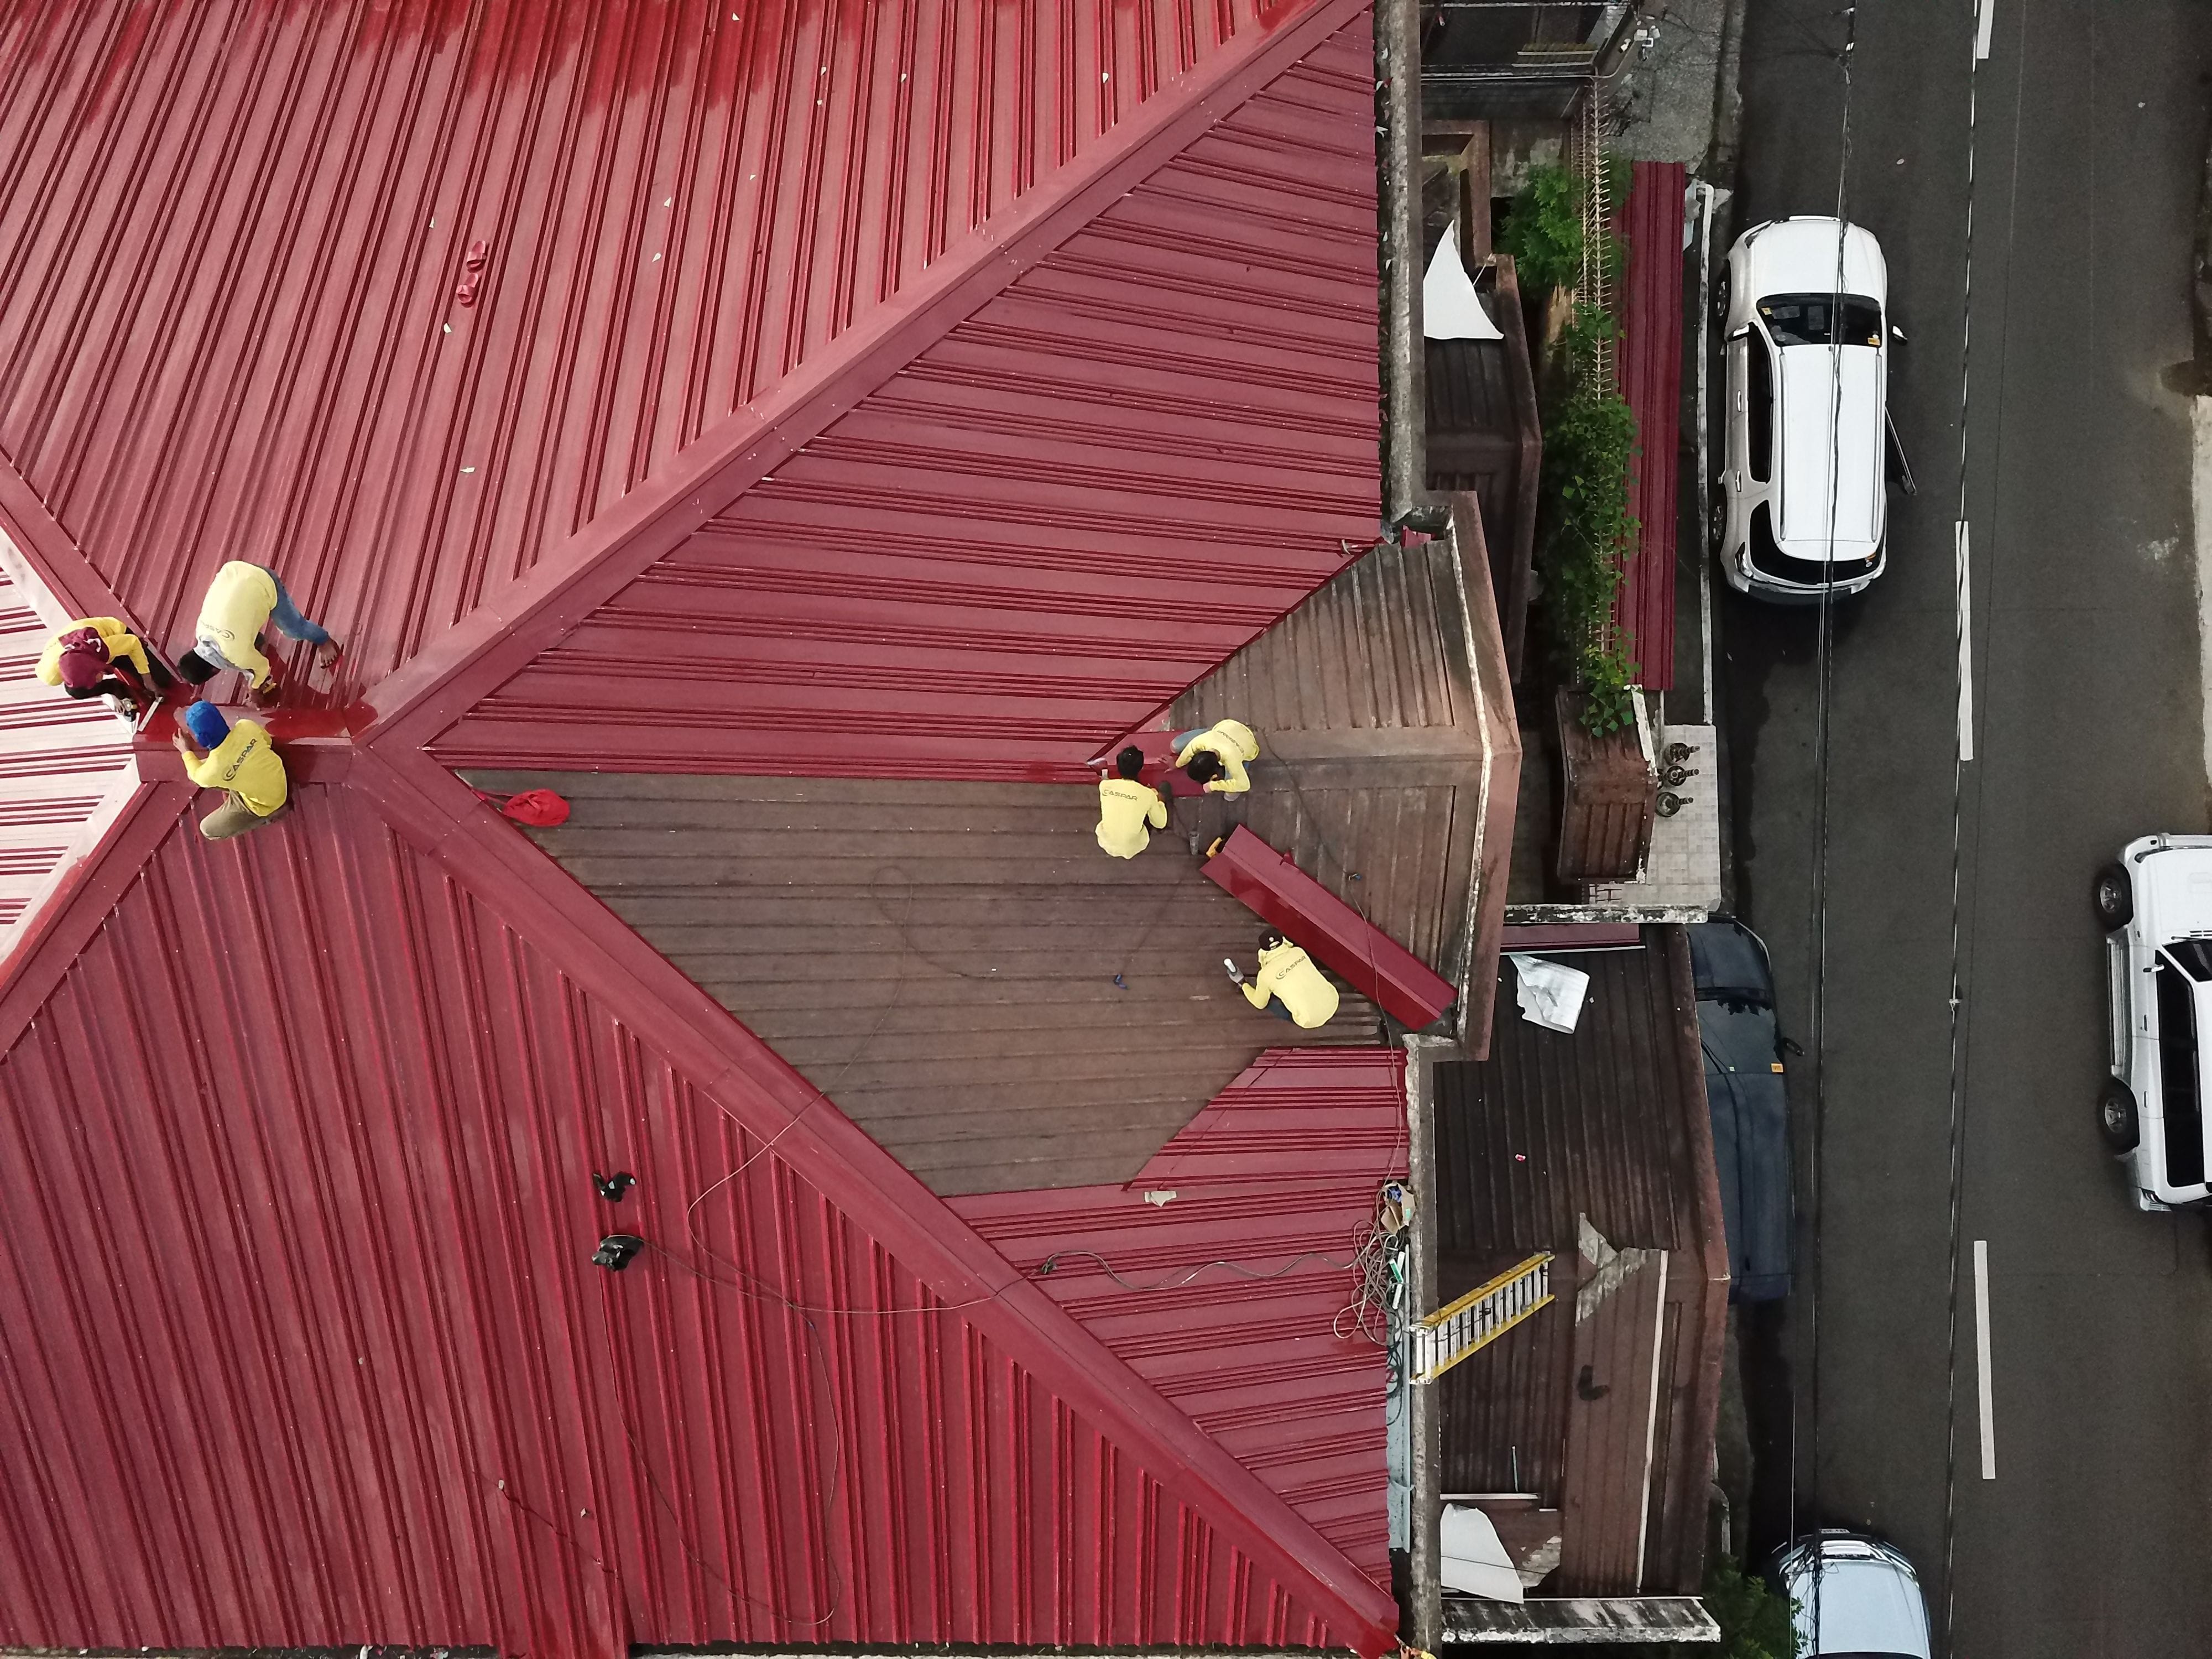
What You Need to Know Before You Repair EPDM Roof Systems
Repair EPDM roof damage correctly the first time, and you can stop a leak for good — no full replacement needed. When dealing with flat roof leaks, partnering with a trusted local contractor like Heritage Roofing & Repair ensures your property remains protected against severe weather. Here is an at-a-glance overview of the repair process:
- Inspect the entire roof surface for punctures, open seams, failed flashing, and ponding water
- Identify the true leak source (water often travels far from the actual damage)
- Clean the membrane thoroughly with a specialized EPDM cleaner
- Prime the repair area and allow it to fully tack up
- Patch or coat using EPDM-compatible materials — never asphalt-based products
- Seal edges with lap sealant and roll firmly with a steel seam roller
A leaking roof does not always mean it is time for a complete replacement. EPDM membranes — short for Ethylene Propylene Diene Monomer — are tough, flexible rubber sheets that can last 20 years or more with proper maintenance. But they do develop weak points over time. Seams lose their bond. Flashing pulls away from edges. A dropped tool or a sharp stone underfoot can punch a hole straight through.
The tricky part? The drip you see on your ceiling is rarely directly below the actual damage. Water travels along the roof deck, underneath the membrane, and along insulation before it ever appears indoors. That gap between where it drips and where it entered is what makes EPDM roof repair confusing — and what causes so many failed DIY fixes.
This guide cuts through that confusion with clear, manufacturer-backed steps for every common repair scenario.
I’m Rex Wisdom, owner of Heritage Roofing & Repair — a family-run roofing business with over 50 years of collective experience serving Berryville and Northwest Arkansas, including hundreds of flat and low-slope repair EPDM roof projects on both residential and commercial buildings. In the sections ahead, I’ll walk you through exactly how we approach these repairs, so you know what a proper fix looks like — whether you’re doing it yourself or hiring a pro.
Heritage Roofing & Repair
3458 Arkansas State Hwy 221, Berryville, AR 72616
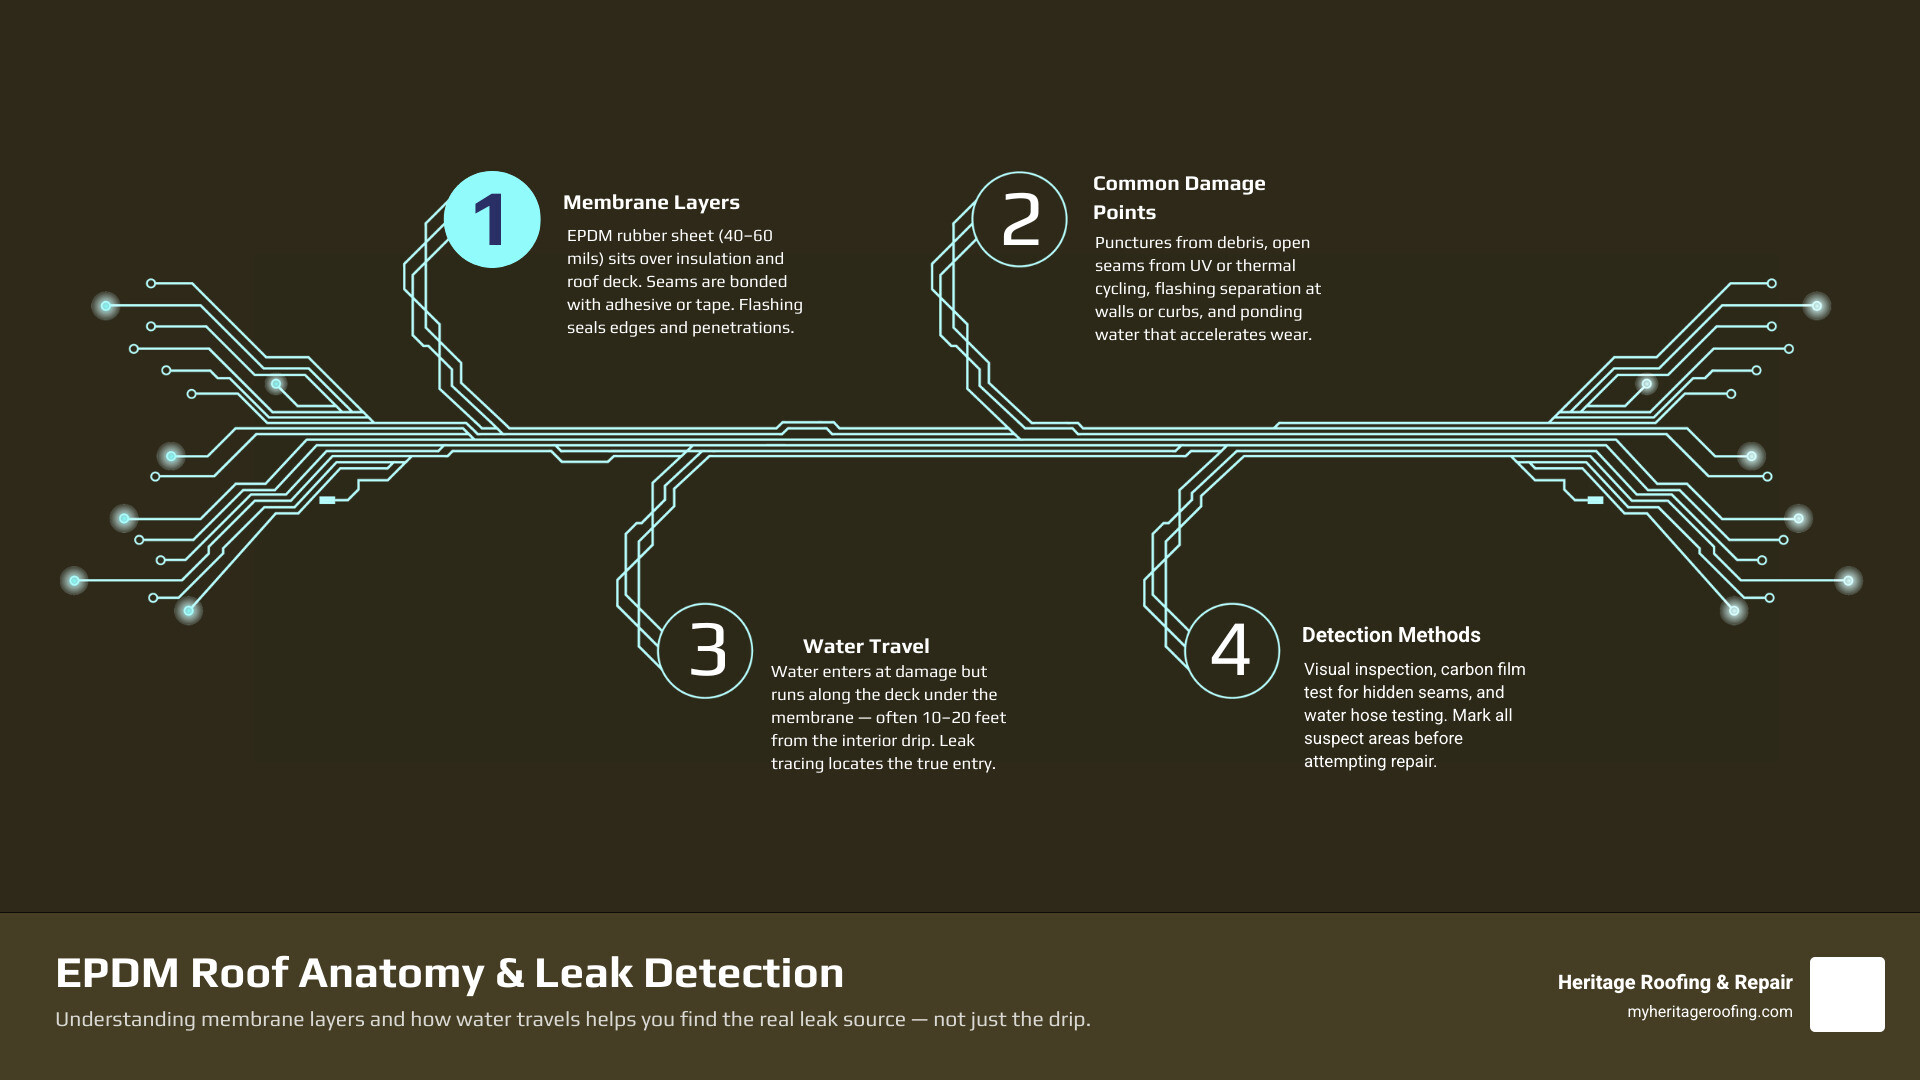
Common Causes of EPDM Roof Damage and Leak Detection
EPDM is highly regarded for its durability, but no roofing material is completely immune to wear and tear. In Northwest Arkansas, our roofs endure hot summers, freezing winters, and severe storms that bring high winds and hail. Over time, these environmental stresses expose the most common vulnerabilities in EPDM systems.
The Most Common Types of EPDM Damage
- Punctures and Tears: These are typically caused by storm debris, fallen tree branches, or accidental damage from foot traffic (such as an HVAC technician dropping a tool).
- Seam Separation: EPDM roofs are installed in large sheets joined by seam tape or splice adhesive. Over time, constant thermal expansion and contraction weaken these bonds, causing the seams to open up.
- Flashing Failures: The connections around chimneys, vents, skylights, and vertical walls are notorious leak points. When the sealants or adhesives in these transition zones age, water finds an easy path inside.
- Ponding Water: Flat roofs are uniquely susceptible to water ponding, defined as water standing on the roof surface for more than 48 hours after rainfall. Ponding water accelerates the degradation of adhesives and puts continuous hydrostatic pressure on seams.
How to Find the True Source of an EPDM Leak
Locating the entry point requires a systematic approach because of how water travels beneath the membrane. Start by inspecting the interior ceiling to map the wet area. When you go up on the roof, do not look only at the area directly above the indoor drip. Inspect everything within a 15-to-20-foot radius, paying close attention to any uphill penetrations, seams, or drains. Look for physical signs of damage like punctures, splits, raised seams, or soft spots in the roof deck that indicate saturated insulation.
According to the EPDM Roof Repair Guide: How To Fix Leaks, Tears, Seams and Failed Patches – Rawlins Blog, many flat roof materials look similar but require completely different repair compounds. You must verify that your roof is actually EPDM. EPDM is a flexible synthetic rubber membrane with a smooth or lightly textured surface. If the roof feels plastic-like, brittle, or has a fiberglass-hard backing, it is likely TPO or PVC, which are chemically incompatible with EPDM repair materials.
The Obstacle of Carbon Film: The “White Rag Test”
One of the most common reasons DIY repairs fail is a fine, hard-to-see layer of carbon black film that accumulates on EPDM as it weathers. If you do not remove this film, your adhesives and patches will not bond.
To overcome this, perform the “white rag test” detailed in the guide How to Fix EPDM Roof, Even if You’ve Never Tried it Before. Rub a clean, white cotton cloth dampened with a specialized weathered membrane cleaner over the repair zone. If the cloth comes away black, the carbon film is still present. Keep cleaning until the rag remains clean after wiping the surface.
Step-by-Step Guide to Repair EPDM Roof Systems
When you need to repair EPDM roof membranes, following a precise, manufacturer-approved physical protocol is the only way to ensure a permanent, watertight seal.
Step 1: Surface Preparation and Cleaning
First, scrape away any loose debris, dirt, and gravel. Scrub the area with a stiff-bristle brush and warm, soapy water, then rinse thoroughly with clean water and let it dry completely. Once dry, wipe the area with a specialized solvent like Splice Wash SW-100 or an approved weathered membrane cleaner to strip away the carbon black film.
Step 2: Membrane Relaxation
If you are using self-adhered EPDM (such as RubberGard EPDM SA) for the patch, you must unroll the material and let it relax in direct sunlight with the release liner down for at least 30 minutes. This releases any built-up manufacturing tension and prevents the patch from shrinking or warping after installation.
Step 3: Sizing and Cutting the Patch
The patch must extend a minimum of 3 inches beyond the boundary of the damaged area in all directions. If you are using self-adhered EPDM SA, manufacturer guidelines specify that the repair must extend at least 6 inches in all directions beyond the outermost border of the damage. Always use scissors to round the corners of your patch. Rounded corners prevent the patch from catching on debris or peeling up over time.
Step 4: Priming the Surface
Apply an approved EPDM primer (such as QuickPrime Plus) to the cleaned roof surface and, if using a non-adhesive patch, to the back of the patch material. Apply the primer evenly and let it dry until it is tacky but does not transfer to your finger when touched (often called the “flash-off” stage).
Step 5: Patch Application and Rolling
Carefully lay the patch over the damaged area. If using self-adhered membrane, pull the release liner back at a 45-degree angle parallel to the roof surface to prevent trapping air bubbles. Once in place, roll the patch thoroughly from the center outward using a heavy steel or silicone seam roller. This physical pressure activates the adhesive bond and eliminates air pockets.
Step 6: Edge Sealing
Wait at least 4 hours after rolling, then apply a continuous bead of EPDM lap sealant along all edges of the installed patch. Tool the sealant flat using a plastic screed to ensure a completely smooth transition that sheds water.
Comparison of EPDM Repair Methods
| Repair Method | Best For | Key Material | Expected Lifespan | Skill Level Required |
|---|---|---|---|---|
| Peel-and-Stick Patch | Minor punctures, small tears, pinholes | Self-adhered EPDM patch & primer | 10 to 15 years | Intermediate (DIY-friendly) |
| Liquid-Applied Coating | Weathered roofs, micro-fissures, complex shapes | Liquid Butyl Rubber | 10 to 20 years | Intermediate to Advanced |
| Full Membrane Overlay | Widespread damage, structural restoration | 45 or 60 mil EPDM membrane | 20+ years | Professional Only |
When to Spot-Repair EPDM Roof vs. Full Replacement
How do you know when a simple patch is enough, or when it is time to call us for a full restoration or replacement? The decision comes down to a few clear rules of thumb:
- The Six Punctures Rule: According to professional warranty repair guidelines, if an existing EPDM membrane is damaged by cuts or punctures in more than six locations within a 100-square-foot area, individual spot patching is no longer sufficient. You must install a new membrane overlay over the entire affected area.
- The Age of the Roof: EPDM roofs have a typical lifespan of around 20 years. If your roof is 18 years old and starting to leak in multiple spots, patching is a temporary band-aid. A full restoration or replacement is a more cost-effective long-term investment.
- The Extent of Structural Damage: If water has penetrated the membrane long enough to rot the wooden roof deck or saturate the underlying insulation, simple patches will fail. The wet insulation must be replaced, and the deck must be repaired before a new membrane is installed.
For an in-depth look at making this decision, read our guide on How to Repair a Leaking EPDM Rubber Roof Without a Full Roof Replacement – EPDM Roof Coatings Blog, which details how liquid-applied systems can restore an aging roof for a fraction of the cost of a full tear-off.
Essential Tools and Materials to Repair EPDM Roof Leaks
Using the right tools and chemically compatible materials is the difference between a repair that lasts 15 years and one that fails during the next heavy rainstorm.
What You Need:
- Steel Seam Roller: Essential for pressing out air bubbles and securing adhesive bonds.
- Scrub Pad and Weathered Membrane Cleaner: For removing carbon film.
- EPDM Primer: Activates the rubber surface for bonding.
- EPDM Splice Adhesive or Seam Tape: For joining membrane sections.
- Liquid Butyl Rubber: Designed to remain highly flexible after curing, boasting a 500% elongation rate and a tensile strength greater than 1,520 psi. It handles extreme temperature swings from -40°F to 250°F.
- EPDM Lap Sealant: To protect the exposed edges of your patches.
Materials to Avoid:
Never use asphalt-based products, roof cement, plastic roof tar, or generic silicone sealants on an EPDM roof. As detailed in the FAQ section below, petroleum-based products chemically react with synthetic rubber, causing the membrane to degrade and fail.
Advanced Repairs: Seams, Flashings, and Penetrations
Detail work around seams, penetrations, and edges is where most EPDM leaks occur. These areas require advanced repair techniques and strict adherence to technical specifications.
Repairing Open Seams and Large Tears
When a seam separates or you face a tear larger than 1/16 inch, a simple patch is not enough. You must reinforce the area. First, clean and prime the seam area extending at least 9 inches on either side of the joint. Apply a specialized high-build sealant (such as SeamTight) over the tear.
While the sealant is wet, embed a reinforcing polyester fabric mesh into it, ensuring a 50mm (2-inch) overlap for any adjacent mesh pieces. Once the basecoat is dry, apply a second layer of sealant to fully encapsulate the mesh.
Sealing Around Roof Penetrations and Flashings
Roof penetrations like plumbing vent pipes and HVAC curbs are subject to constant movement. According to the architectural specifications in SECTION 07506 EPDM ROOF SYSTEM RESTORATION PART 1 GENERAL 1.1 WORK INCLUDES 1.2 RELATED SECTIONS 1.3 DEFINITIONS 1.4 QUALITY ASSURANCE, these areas must be treated with target patches:
- Plumbing Vent Pipes: Remove the old, cracked rubber boot and clamps. Clean a 3-foot by 3-foot area around the pipe. Install a new 3’x3′ target patch of 60 mil EPDM over the pipe. Wrap the pipe base with uncured, moldable EPDM flashing tape, apply water cut-off mastic, and secure it with a stainless steel clamping ring.
- HVAC Curbs: When restoring flashing around commercial HVAC units, the membrane must extend over the top of the curb and be nailed off at 4 inches on center before the HVAC unit is secured.
- Metal Drip Edges: If the EPDM has pulled away from a metal drip edge, remove the rusted metal. Install a new drip edge, clean and prime the underside of the EPDM and the new metal, apply splice adhesive, roll firmly, and seal the edge with lap sealant.
Environmental and Temperature Constraints
Weather plays a critical role in the success of EPDM repairs. For liquid-applied systems like Durashield or Liquid Butyl Rubber, the manufacturer specifications in the Technical Notes – 1Elevate Warranty Repair Guide require:
- Application Temperature: Substrate and ambient temperatures must be between 50°F and 100°F (or 5°C to 30°C for certain primers).
- Moisture: Never apply materials if there is any visible moisture, dew, or frost on the roof.
- Curing: Liquid butyl rubber begins to form a skin in 2 to 3 hours and becomes tack-free in 3 to 4 hours, but a full cure can take up to 7 days.
- Roof Slope: Flat roofs must have a minimum finished fall of 1:80 to ensure proper drainage and prevent ponding water over your new repairs.
Frequently Asked Questions about EPDM Roof Repair
Can you use standard asphalt-based roof cement on EPDM?
No. Standard asphalt-based roof cement, coal tar, and bitumen products are completely incompatible with EPDM. The petroleum solvents in asphalt products dissolve the binders in synthetic rubber. This causes the EPDM to swell, warp, and turn into a sticky, structurally compromised mess. Always use EPDM-specific butyl adhesives, primers, and lap sealants.
How long does an EPDM patch repair last?
When performed correctly using proper cleaning protocols, EPDM primers, and rounded peel-and-stick patches, an EPDM repair can last between 10 and 15 years. If you use a high-quality liquid butyl rubber restoration system, the repair can easily last up to 20 years, matching the remaining lifespan of the original roof.
What is the ideal temperature for EPDM repairs?
The ideal temperature range for applying EPDM adhesives, primers, and coatings is between 50°F and 100°F. If temperatures fall below 40°F, adhesives will not cure properly, and condensation can form on the membrane, preventing a proper bond. If emergency repairs must be made in cold weather, you must use specialized low-temperature primers and heat-warm the adhesives before application.
Conclusion
Whether you are dealing with a minor puncture from storm debris on your home or widespread seam failure on a commercial facility, knowing how to properly repair EPDM roof damage is the key to protecting your property. Proper preparation, chemical compatibility, and physical rolling are the three pillars of a durable repair.
While small punctures can be resolved with a DIY patch kit, complex flashing repairs, open seams, and large-scale restorations are best left to licensed professionals. Improperly applied patches can trap moisture, leading to rotted decking and mold growth that can cost thousands of dollars to remediate.
If you are located in Berryville, Fayetteville, Harrison, or anywhere in Northwest Arkansas, our team at Heritage Roofing & Repair is here to help. With over 50 years of trusted experience, we specialize in flat roof repairs, storm damage restoration, and navigating commercial insurance claims to ensure your building remains completely dry.
Contact Rex Wisdom and the team at Heritage Roofing & Repair today for a comprehensive, professional roof inspection.