The Definitive Guide to Chimney Flashing Repair: Costs, Materials, and Prevention
Chimney flashing repair is the process of fixing or replacing the metal barrier that seals the joint between your chimney and your roof — and it’s one of the most effective ways to stop a roof leak fast. Heritage Roofing & Repair provides expert roofing services in Northwest Arkansas to protect your home’s structural integrity.
Here’s what you need to know right away:
- Repairs typically cost $400–$1,600, depending on materials and damage extent
- Minor issues (small cracks, loose sealant) can sometimes be DIY fixes — but most repairs need a pro
A small leak near your chimney might not seem urgent. But water that gets behind failed flashing can quietly rot your roof deck, ceiling joists, and walls — turning a $500 fix into a $5,000 problem. Our expert roof repair services at Heritage Roofing & Repair exist precisely to stop that from happening.
I’m Rex Wisdom, owner of Heritage Roofing & Repair — a family-run business with over 50 years of combined experience in chimney flashing repair and all aspects of residential roofing across Northwest Arkansas. In this guide, I’ll walk you through everything you need to diagnose, fix, and protect your chimney flashing the right way.

Important chimney flashing repair terms:
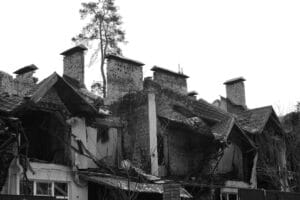
Anatomy of Failure: Why 90% of Roof Leaks Start at the Chimney

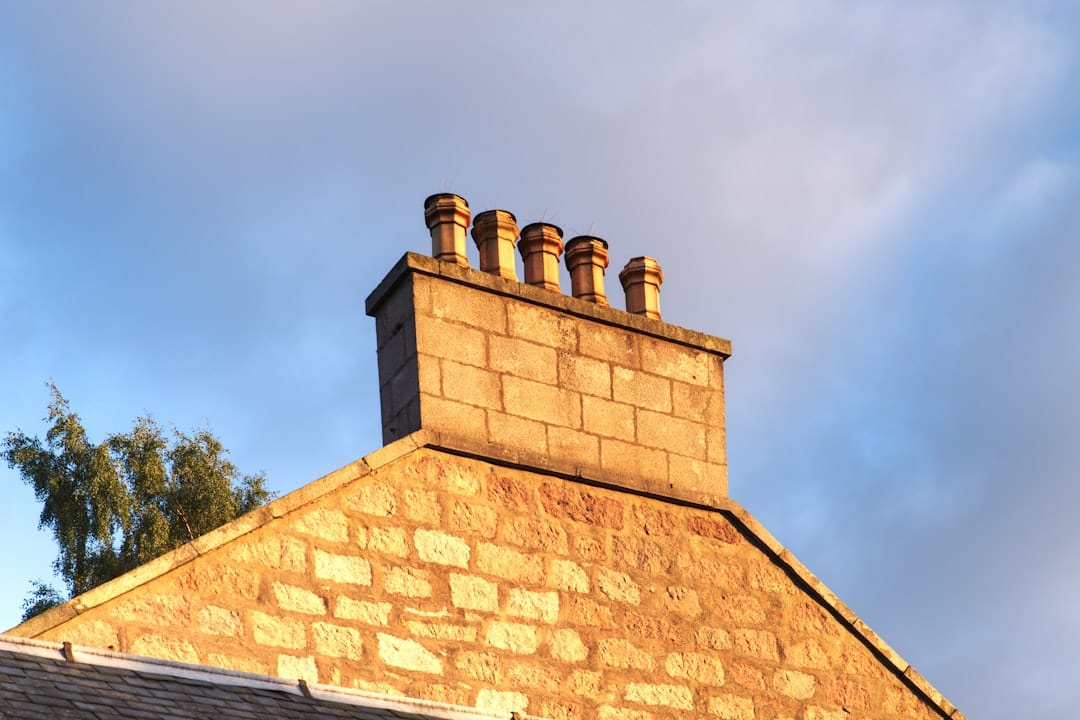
At its core, chimney flashing is a waterproof barrier made of thin sheet metal. Its only job is to bridge the gap where your vertical chimney meets your sloping roof. Because these two structures move independently as your house settles or temperatures change, you can’t just slap some mortar there and call it a day. You need a flexible, layered system of metal to shed water.
Unfortunately, this area is a prime target for failure. In our experience across Northwest Arkansas—from Berryville to Fayetteville—we see flashing fail for a few specific reasons:
- Thermal Expansion and Contraction: Metal, brick, and wood all expand at different rates. Over time, this “breathing” can pull the flashing away from the masonry or crack the sealant.
- The Freeze-Thaw Cycle: This is a big one in Arkansas. Water gets into a tiny gap, freezes, expands, and pushes the flashing further out. When it thaws, you have a much larger hole for the next rainstorm.
- Corrosion: Depending on the material used, rust can eat through the metal, especially if it wasn’t painted or treated properly.
- Poor Initial Installation: Many “budget” roofers reuse old flashing when installing a new roof. This is a recipe for disaster, as the old metal likely already has nail holes or warped edges.
Comparing Flashing Materials
Choosing the right metal is the first step in a long-lasting chimney flashing repair.
| Material | Average Lifespan | Cost Level | Pros/Cons |
|---|---|---|---|
| Galvanized Steel | 15–20 Years | Low | Affordable, but prone to rust if the coating is scratched. |
| Aluminum | 20–25 Years | Moderate | Rust-proof and easy to shape; can corrode if it touches wet mortar. |
| Copper | 50+ Years | High | The “Gold Standard.” Beautiful patina, incredibly durable, but expensive. |
Another critical factor is the “cricket.” Per the International Building Code, a chimney wider than 30 inches requires a cricket—a small peaked roof structure built behind the chimney to divert water. Without it, water pools against the back of the chimney, eventually forcing its way through even the best flashing.
5 Critical Warning Signs Your Chimney Flashing is Failing
Identifying chimney flashing failure early can prevent thousands of dollars in structural damage. Often, the house will provide clear indicators before a major collapse occurs. If you notice any of the following, it’s time to consult a comprehensive roof leak repair guide or call us for an inspection.
- Interior Water Stains: Yellow or brown rings on the ceiling or walls around your fireplace are the most obvious “smoking gun.”
- Musty Odors: If your living room smells like a damp basement after a rain, water is likely trapped behind the drywall or in the attic insulation near the chimney.
- Visible Rust or Gaps: If you can see the metal pulling away from the brick or notice orange rust streaks, the seal is already compromised.
- Crumbling Mortar: Sometimes the flashing is fine, but the mortar joints it’s tucked into are falling apart.
- Dripping in the Firebox: If you hear “plink, plink, plink” inside your fireplace during a storm, water is likely bypassing the flashing and running down the outside of the flue.
Ignoring these signs can lead to mold growth and structural rot. We always recommend a roof inspection at the first sign of trouble to prevent costs from skyrocketing.
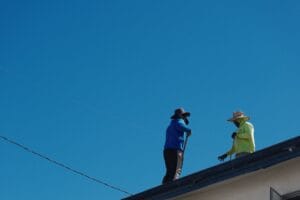
The Professional 8-Step Protocol for Watertight Chimney Flashing Repair
Professional chimney flashing repair follows a specific layered protocol to ensure a 100% watertight seal. Everything must overlap so water always runs “downhill” over the next piece of metal.
- Safety First: We never step on a roof without a safety harness, roof jacks, and a stable ladder. Working around a chimney often involves steep angles, so don’t skip the safety gear.
- Remove Old Material: Use a pry bar to carefully remove the shingles around the chimney and the old, damaged flashing. You need a clean slate.
- Prepare the Masonry: Use a wire brush to clean the brick. If the old counter-flashing was tucked into a “reglet” (a groove cut into the mortar), we clean that out too.
- Install Base Flashing: This is the large apron piece that sits at the bottom (downslope) side of the chimney. It should extend several inches over the shingles.
- Layer Step Flashing: This is the most tedious part. Small L-shaped pieces of metal are woven in with each row of shingles along the sides of the chimney. For a detailed guide on replacing chimney flashing, each piece must overlap the one below it by at least 2 inches.
- Install Counter-Flashing: This is the “cap” that covers the top of the step flashing. We tuck this metal into the mortar joints of the chimney.
- Seal and Secure: We use high-temperature silicone or professional-grade roofing cement to seal the top edge of the counter-flashing.
- The Water Test: Once everything is dry, we simulate a rainstorm with a garden hose to ensure the seal is 100% watertight.
Essential Tools for Chimney Flashing Repair
If you’re tackling a minor repair, you’ll need the right kit. For residents needing professional roof repair in Harrison, we usually arrive with:
- Tin Snips: For precision cutting of the metal sheets.
- Pry Bar & Hammer: To remove old shingles and nails without damaging the roof deck.
- Masonry Nails: To secure the metal to the brick.
- Caulking Gun: For applying professional-grade sealants.
- Wire Brush: To prep the brick surfaces for a better bond.
- Work Gloves & Safety Glasses: Metal edges are razor-sharp!
When to Hire a Pro for Chimney Flashing Repair
While a handy homeowner can patch a small crack with roofing cement, a full replacement is a different beast. Here is when you should definitely call Heritage Roofing & Repair:
- Height and Pitch: If your chimney is 30–40 feet off the ground or your roof is too steep to walk comfortably, the risk of a fall is too high.
- Complex Masonry: Stone chimneys or historic brickwork require specialized cutting and tuck-pointing.
- Cost vs. Risk: While DIY materials might only cost $100, a mistake could lead to thousands in interior water damage.
- Warranty and Insurance: We provide warranties on our craftsmanship and can help document damage for insurance claims—something a DIY job won’t offer.
Expert Answers: Frequently Asked Questions About Chimney Maintenance
Can I use caulk to fix a leaking chimney?
Caulk is a “Band-Aid,” not a cure. It’s a temporary fix for a small gap, but it will eventually dry out, crack, and fail due to structural movement. For a permanent solution, you need to replace the metal or use specialized flexible sealants like FlashSeal that are designed to move with the building.
Secure Your Home with Certified Chimney Flashing Repair
Maintaining watertight chimney flashing is essential for preserving your home’s value and structural integrity. At Heritage Roofing & Repair, we’ve spent decades perfecting the art of the chimney flashing repair. Whether you’re dealing with storm damage in Berryville or need a routine check-up in Harrison, our team provides the quality craftsmanship and dependable service you deserve.
Don’t wait for the next big Arkansas thunderstorm to find out your flashing is failing. Schedule your inspection in Fayetteville today and let us give you the peace of mind that comes with a truly watertight roof.
Heritage Roofing & Repair 3458 Arkansas State Hwy 221, Berryville, AR 72616 (870) 654-1164