How to Repair Storm Damage on Commercial Roof Systems: Emergency Protocol & Action Plan
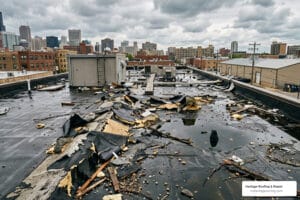
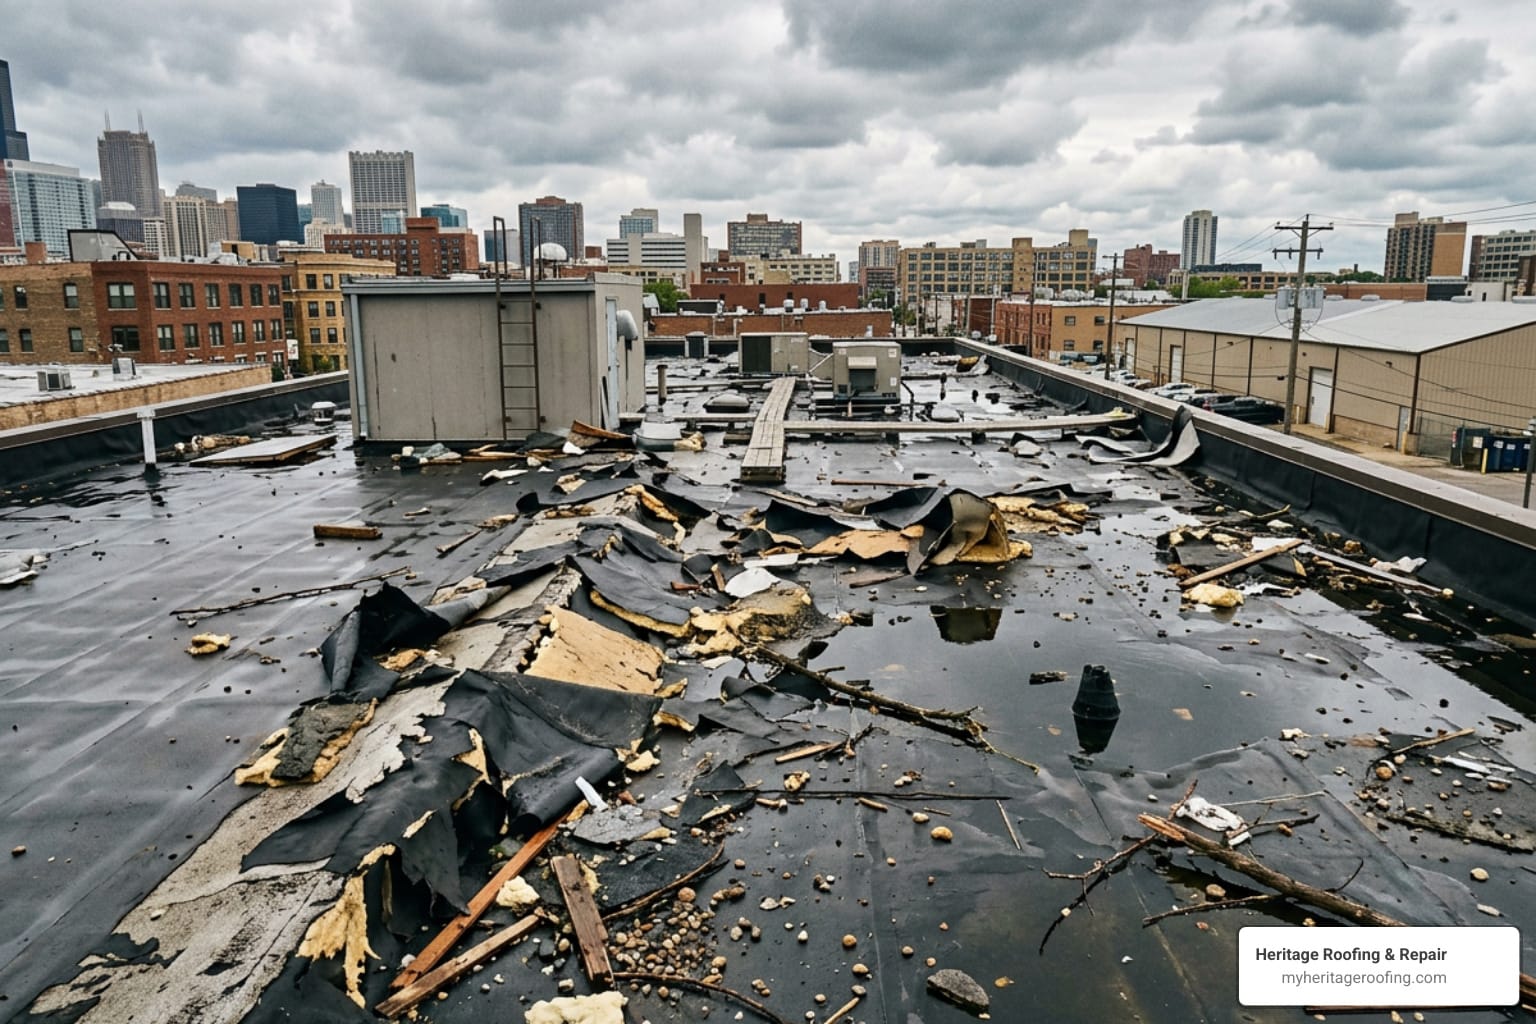
Knowing how to repair storm damage on a commercial roof is a critical, time-sensitive priority for property owners. According to industry data, delayed repairs can increase total restoration costs by up to 300% within 72 hours due to secondary water intrusion and structural deck compromise. When severe weather strikes, partnering with an experienced commercial roofing company stabilizes your facility immediately and mitigates catastrophic inventory loss.
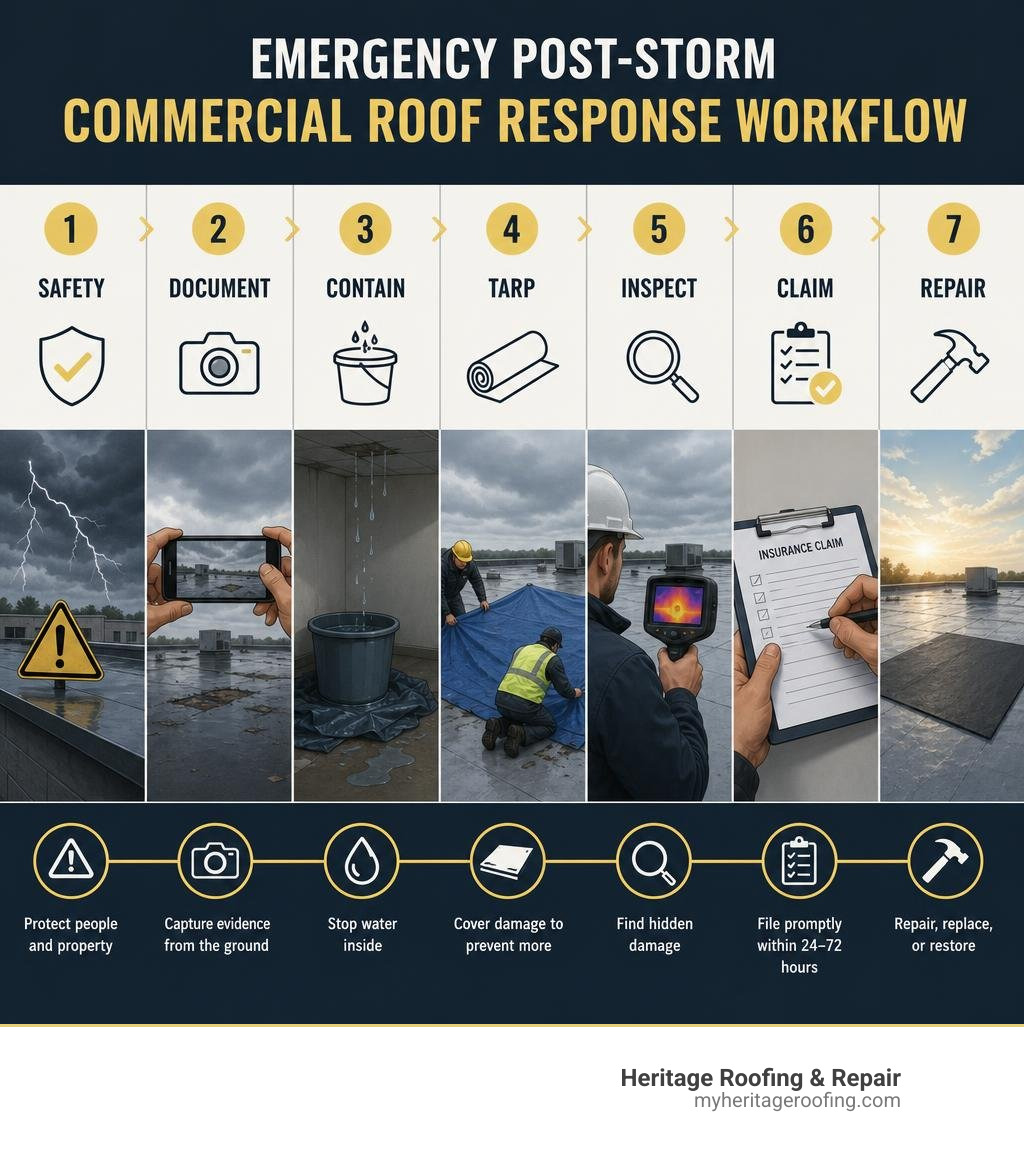
Here is a quick overview of the core steps:
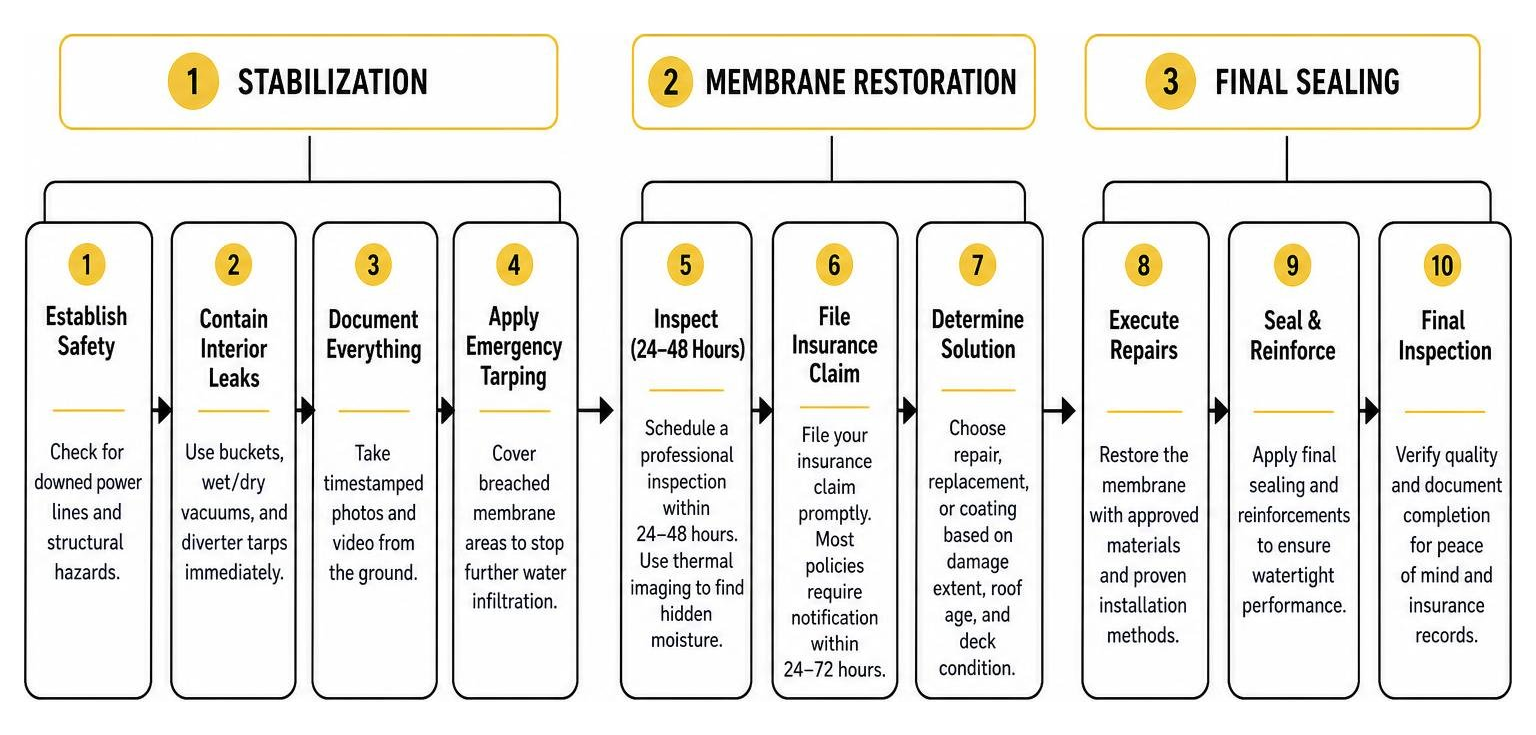
- Establish safety – Check for downed power lines and structural hazards before anyone approaches the building.
- Contain interior water intrusion – Use buckets, wet/dry vacuums, and diverter tarps immediately.
- Document everything – Take timestamped photos and video from the ground before anyone goes on the roof.
- Apply emergency tarping – Cover breached membrane areas to stop further water infiltration.
- Schedule a professional inspection within 24-48 hours – Use thermal imaging to find hidden moisture before filing your claim.
- File your insurance claim promptly – Most commercial policies require notification within 24-72 hours.
- Choose repair, replacement, or coating – Based on damage extent, roof age, and deck condition.
A storm doesn’t just damage your roof – it threatens your inventory, equipment, and business continuity. Hailstones can travel at speeds up to 100 mph, and the damage they leave behind often doesn’t cause a visible drip until weeks later, long after your insurance claim window may have tightened. Commercial buildings on reactive-only strategies pay 30-50% more in lifetime roofing costs compared to those with a defined storm response plan.
If you’re a commercial property owner in Northwest Arkansas, our commercial storm damage repair services are built specifically for the severe weather patterns this region sees every season.
I’m Rex Wisdom, owner of Heritage Roofing & Repair, and my family has spent over 50 years helping property owners across Berryville and Northwest Arkansas navigate how to repair storm damage on commercial roofs – from emergency stabilization through final inspection and insurance resolution.
Heritage Roofing & Repair
3458 Arkansas State Hwy 221, Berryville, AR 72616
Phone: (870) 654-1164
How to repair storm damage on commercial roof terms explained:
Step-by-Step Guide to Commercial Roof Repairs
When severe Ozark storms strike, executing a structured repair plan protects your facility and preserves critical manufacturer warranties. Whether your building is located in Berryville, Fayetteville, or you are looking for trusted Harrison AR roofers, understanding the step-by-step restoration workflow keeps small issues from escalating into major operational downtime. For industry technical standards, consult the official National Roofing Contractors Association guidelines.
Step 1: Emergency Stabilization and Watertight Containment
Your first objective following a severe weather event is temporary water containment. A storm-damaged commercial roof must be inspected and stabilized by a qualified roofer within 24–48 hours to prevent structural deterioration and exponential cost escalation.
- Clear Drainage Pathways: High winds sweep tree limbs and debris across flat roofs, clogging roof drains, scuppers, and interior downspouts. Standing water accumulating 48 hours after a storm indicates clogged drainage or compromised slope, leading to severe structural weight stress.
- Deploy Emergency Tarping: On single-ply membranes or metal systems, cover open tears or punctures with heavy-duty tarps. Secure them with wooden battens anchored outside the active puncture zone rather than placing heavy bricks or concrete blocks directly over fragile insulation boards.
- Apply Emergency Sealants: Apply commercial-grade elastomeric sealants or temporary cold-applied patching compounds to minor seam splits and flashing separations to maintain a watertight seal until permanent restoration begins.
Step 2: Repairing Commercial Roof Membranes (TPO, EPDM, PVC)
Single-ply membranes respond differently to impact, wind uplift, and flying debris:
- TPO (Thermoplastic Polyolefin) & PVC Repairs: TPO and PVC roofs rely on heat-welded seams. To repair hail punctures or wind-torn sections, we thoroughly clean the damaged area with specialized membrane cleaners. Next, we weld a un-reinforced or reinforced TPO patch over the breach using a hot-air welder set to approximately 800°F–1,000°F, ensuring a monolithic, permanent seam bond that maintains original factory warranties.
- EPDM (Rubber) Repairs: EPDM cannot be heat-welded. Permanent EPDM repair requires scrubbing the target membrane surface with an EPDM cleaner and applying a solvent-based primer. A self-adhering EPDM patch or un-cured flashing tape is then rolled over the puncture with a steel roller to eliminate air bubbles and press out a complete watertight bond. Lap sealant is applied around all patch perimeters.
Step 3: Repairing Commercial Metal and Asphalt Systems
- Modified Bitumen & Built-Up Roofs (BUR): Hail can fracture brittle asphalt cap sheets, exposing internal fiberglass matting. Repairs require clearing loose granules, applying a compatible cold-process asphalt cement over the fracture, and embedding a woven fiberglass reinforcement mesh before topping with a protective granule layer.
- Commercial Metal Roof Systems: High winds loosen clip fasteners, bend coping caps, and break seam seals on standing seam or R-panel metal roofs. We replace backed-out fasteners with oversized corrosion-resistant screws fitted with fresh EPDM washers, reset displaced flashing, and apply high-solids silicone sealants over open panel laps.
Identifying Post-Storm Commercial Roof Damage (Visible and Hidden)
Identifying storm damage early prevents trapped moisture from destroying substrate insulation boards and rotting structural decking. Review official emergency response procedures through FEMA post-storm building assessment guidelines.
Ground and Exterior Damage Indicators
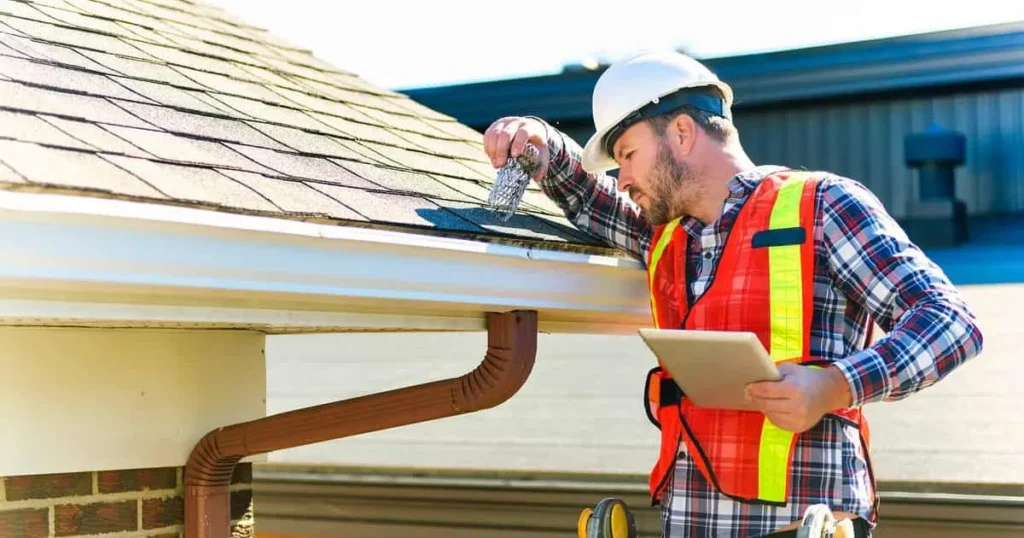
Before walking a flat roof, perform a thorough ground-level exterior inspection using binoculars:
- Metal Flashing & Coping Caps: Look for loose, lifted, or displaced metal perimeter edge caps and counter-flashing along parapet walls. Wind uplift starts at roof corners and edges where suction pressures are highest.
- Rooftop Unit (RTU) Curb Flashings: Inspect air handling units, exhaust vents, and skylights for dented housing, loose sealant joints, or displaced flashing collars.
- Hail Bruising on Membranes: Hailstones hitting flexible single-ply membranes often do not leave dramatic tears. Instead, 100 mph hail impacts leave subtle circular “bruises” or micro-fractures, especially directly over rigid insulation board joints where the substrate offers no flex.
Hidden Moisture and Structural Assessment
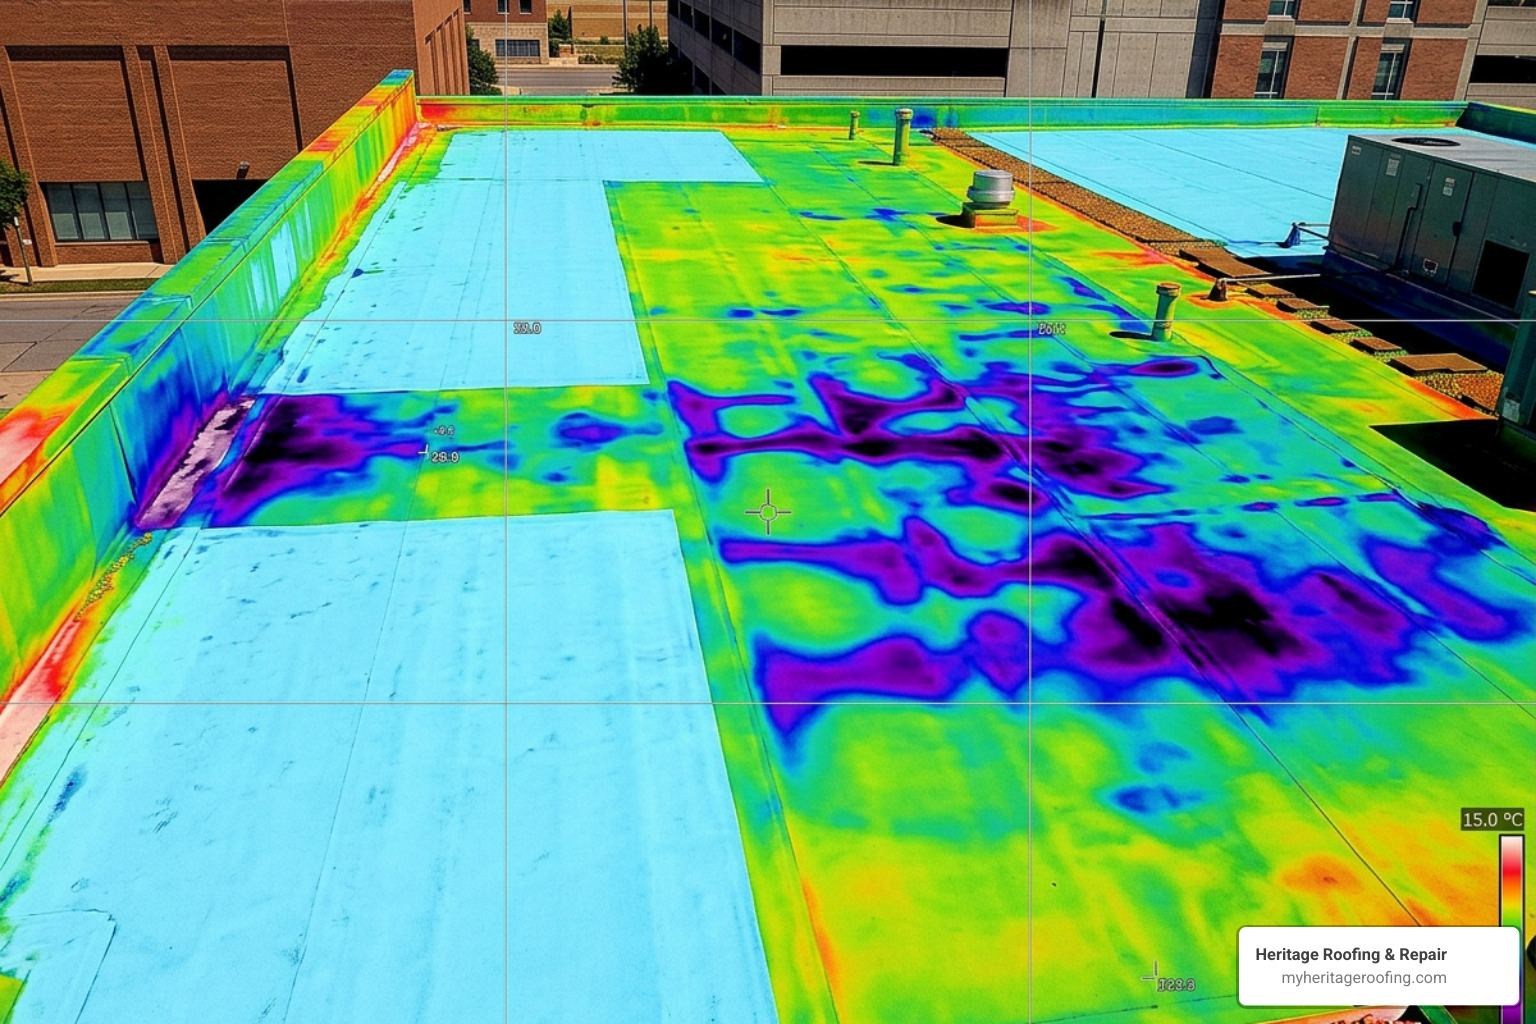
Not all storm damage is visible to the naked eye. To capture trapped water that causes long-term structural rot, professional commercial roofers utilize non-destructive moisture testing:
- Infrared Thermography (ASTM C1153): Scheduled after sunset, thermal imaging cameras measure heat retention differences across the roof assembly. Wet insulation holds solar heat significantly longer than dry insulation, pinpointing exact boundaries of trapped moisture underneath single-ply membranes.
- Core Sampling: Physical core cuts verify thermal imaging data, revealing whether wet insulation involves 5% or 50% of the underlying deck assembly.
- Interior Inspection Tracing: Check top-floor ceiling tiles, structural steel joists, and decking for rust streaks, water stains, wet insulation batts, or sagging roof decking.
Repair, Replace, or Restore: Deciding Your Commercial Roof Strategy
Property managers frequently face a tough dilemma following severe storms: pay for localized repairs, tear off the entire roof assembly, or apply a high-performance restoration coating? Consult performance specifications maintained by the Cool Roof Rating Council when selecting restoration materials.
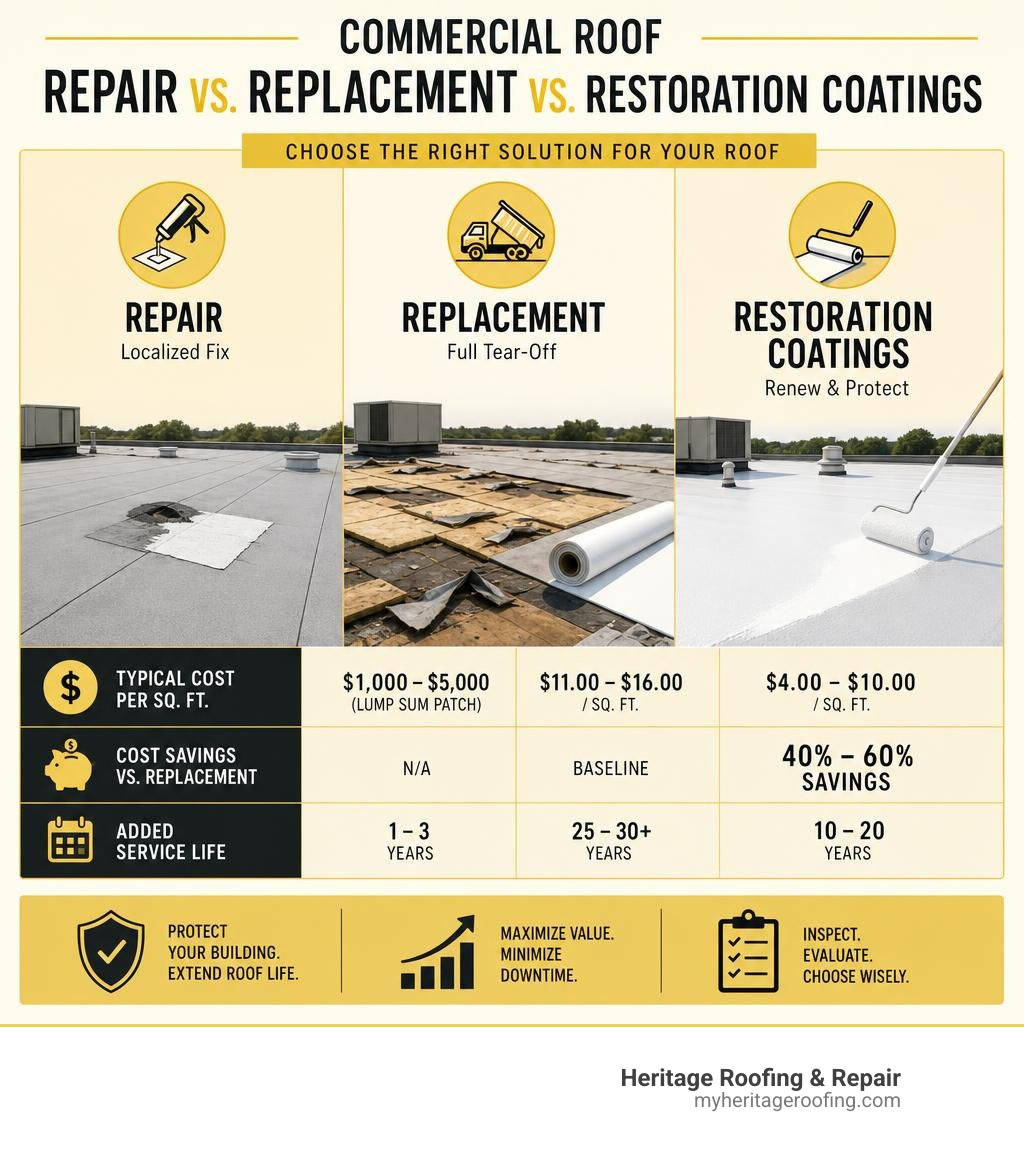
| Decision Factor | Localized Repair | Elastomeric / Silicone Coating | Full Tear-Off & Replacement |
|---|---|---|---|
| Typical Cost / Sq. Ft. | $1,000 – $5,000 (Lump sum patch) | $4.00 – $10.00 / sq. ft. | $11.00 – $16.00 / sq. ft. |
| Cost Savings vs. Replacement | N/A | 40% – 60% Savings | Baseline |
| Added Service Life | 1 – 3 Years | 10 – 20 Years | 25 – 30+ Years |
| Surface Area Damage Threshold | < 25% Surface Damage | < 25% Wet Insulation (Sound Deck) | > 25% – 30% Surface Damage |
| Code Requirement Trigger | < 25% Section Repair in 12 Mos. | Exempt from Tear-Off Code | > 25% Section triggers full code update |
When evaluating your options, reference these key industry rules:
- The 25–30% Surface Rule: If storm damage affects more than 25% to 30% of a commercial roof’s total surface area, full replacement usually becomes more cost-effective than continuous patchwork. Furthermore, the International Existing Building Code (IEBC) dictates that if more than 25% of a roof section is repaired or replaced within a 12-month period, the entire section must be brought up to current building energy codes.
- The Coating Advantage: If your single-ply or modified bitumen roof substrate and insulation deck remain structurally sound, fluid-applied elastomeric or high-solids silicone roof coating systems offer an extraordinary alternative. Coatings cost $4.00–$10.00 per square foot compared to $11.00–$16.00 per square foot for a complete tear-off, delivering 40% to 60% immediate savings while adding 10 to 20 years of renewed service life.
- The Energy Efficiency Bonus: Applying a white reflective acrylic or silicone coating reduces thermal absorption dramatically. In a Florida Solar Energy Center field study, applying a white reflective acrylic coating to a modified bitumen commercial roof led to a 10% reduction in chiller electric power use, 13,000 kWh in annual energy savings, and a 35% lower summer weekday peak demand.
For details on code compliance requirements, review the latest International Code Council energy standards.
Navigating Insurance Claims and Choosing a Commercial Roofing Contractor
Filing commercial insurance claims requires careful documentation, speed, and precise scope alignment between your contractor and adjuster. For additional guidance on commercial catastrophe recovery, review resources provided by the Insurance Information Institute.
Filing the Claim and Working with Adjusters
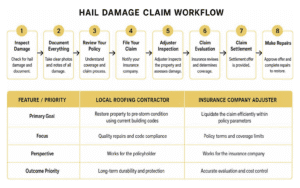
- Act Within Standard Policy Windows: Most commercial policies stipulate that storm damage must be reported “promptly” – typically within 24 to 72 hours. Delaying a claim risks denial under clauses covering neglect or pre-existing wear.
- Document Comprehensive Evidence: Collect timestamped ground and roof photos, interior leak logs, drone inspection imagery, infrared thermography reports, and official local weather service storm data showing exact wind gust speeds and hail diameters on the storm date.
- Understand ACV vs. RCV Policies: Actual Cash Value (ACV) policies subtract depreciation from your payout based on roof age. Replacement Cost Value (RCV) policies pay the actual cost to repair or replace the damaged assembly once repairs are completed and recoverable depreciation is released.
- Have Your Roofer Present for Adjuster Walkthroughs: Never walk a roof with an insurance adjuster alone. Having a licensed commercial contractor present during the inspection ensures hidden structural issues, wet insulation, and perimeter flashing uplift are captured accurately in the insurer’s official scope of loss.
Vetting Local Commercial Roofing Contractors
After major weather events, out-of-state “storm chasers” flood affected communities. Avoid severe liability and poor quality workmanship by vetting your commercial roofer thoroughly:
- Verify Licensing & Local Physical Presence: Ensure your contractor maintains an established brick-and-mortar facility within Northwest Arkansas.
- Confirm Comprehensive Liability Insurance: Commercial projects require at least $1,000,000 to $5,000,000 in commercial general liability insurance and active workers’ compensation coverage.
- Check Manufacturer Certifications: Top-tier manufacturers (such as Carlisle, GAF, Firestone, or Versico) require factory certification for contractors to offer extended 20-to-30-year non-prorated system warranties.
- Beware of Legal Deductible Scams: State regulations strictly prohibit roofing contractors from absorbing, waiving, or rebating commercial insurance deductibles. Any contractor offering to “cover your deductible” is committing insurance fraud and risking your policy coverage.
Frequently Asked Questions About Commercial Storm Repairs
How quickly should I inspect my commercial roof after a severe storm?
You should schedule a professional commercial roof inspection within 24 to 48 hours following a major storm event. Prompt inspections identify micro-fractures, seam tears, and drainage blockages before interior leaks damage building contents or cause structural mold growth. Additionally, most commercial insurance policies enforce strict prompt notification clauses requiring initial claim filings within 24 to 72 hours.
What percentage of roof damage requires a complete commercial roof replacement?
When storm damage affects more than 25% to 30% of a commercial roof’s total surface area, full replacement typically becomes more economical than continuous patchwork. Furthermore, local building energy codes require that if more than 25% of a total roof section is repaired or restored within a 12-month period, the entire section must be upgraded to meet current building code standards.
Can a reflective roof coating replace a full tear-off after storm damage?
Yes, provided the underlying structural deck and insulation boards are dry and sound. Liquid-applied elastomeric or silicone roof coatings restore complete waterproofing, seal minor storm-related hail or seam damage, and extend roof lifespan by 10 to 20 years at roughly 40% to 60% less cost than a full membrane tear-off ($4.00–$10.00/sq. ft. versus $11.00–$16.00/sq. ft.).
Conclusion: Protect Your Commercial Property with Rapid Storm Response
Commercial buildings that combine routine preventative maintenance with a defined storm response plan enjoy 30-50% lower lifetime roofing costs compared to businesses relying on reactive emergency fixes. When high winds or hail hit your building, taking decisive action in the first 24 to 48 hours protects your building envelope, secures full insurance reimbursements, and maintains total business continuity.
At Heritage Roofing & Repair, our family brings over 50 years of trusted craftsmanship, advanced thermal moisture detection, and dedicated insurance claim support to commercial property owners across Berryville, Harrison, Fayetteville, and all of Northwest Arkansas.
If your facility has recently experienced severe weather, don’t wait for interior ceiling drips to reveal a hidden roof breach. Explore our specialized commercial storm damage roof repair services or contact our expert commercial team today to schedule your comprehensive post-storm evaluation.
Heritage Roofing & Repair
3458 Arkansas State Hwy 221, Berryville, AR 72616